iPhone 7 Screen Replacement Guide
Step By Step iPhone Screen & Digitizer Repair Process
Tools & Equipment:
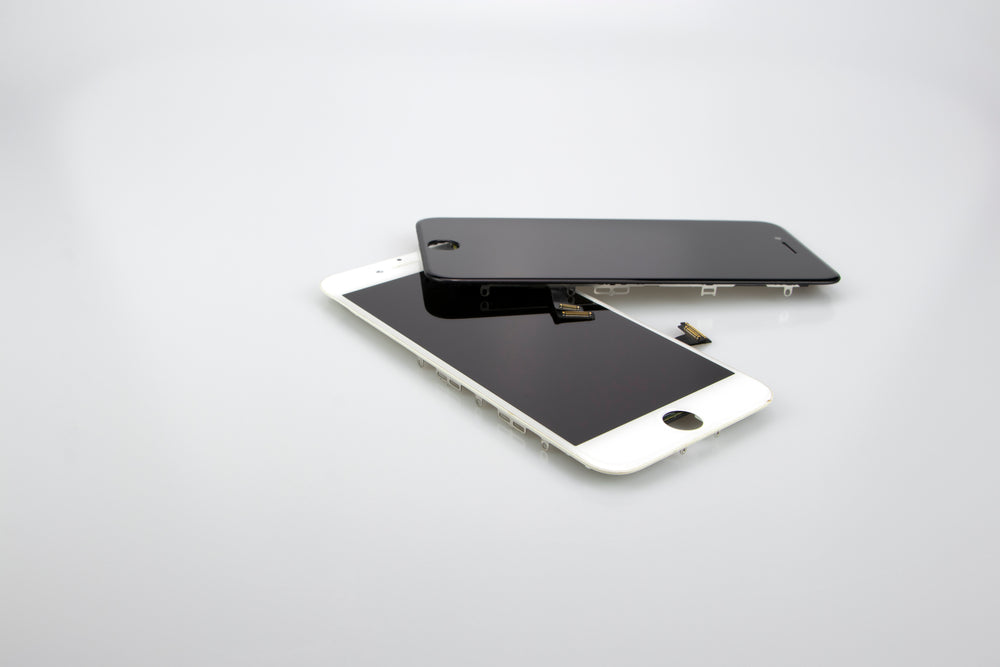
To complete your iPhone 7 screen replacement you will need a few simple tools including a mini pentalobe screwdriver, a pry tool, a suction tool, a tri-point screwdriver, and your replacement iPhone 7 screen and digitizer.
From the original screen assembly, you must transfer over the LCD shield, front camera bracket, proximity sensor bracket, front camera, earpiece, and bracket. It’s important to note that replacement screens do not include a new home button or home button cable, as the original cable hardware is required for Touch ID to work correctly.

Buy 22 Piece Essential Mobile Phone Repair Tool Set ✓
Step 1: Power Off Your Phone
Before you turn your iPhone off, you need to ensure that the battery is drained to below 25%. This is to minimise the risk of the battery become a hazard if it is accidentally damaged during the screen repair. Then, you can power off your device.
Step 2: Inspect Your Device
You then need to inspect your iPhone 7’s frame and screen for damage. You need to ensure that the frame itself doesn’t have any dents in it or structural issues that will prevent the new screen from sitting correctly when installed.
The chances are if you’re replacing your iPhone screen then it will be smashed or cracked to some extent. Because of the effect that smashed glass can have on the screen's structural integrity, as well as the hazard of any glass falling out, it’s best to use tape to tape over the display and secure any loose shards and reinforce the screen’s structure.
Step 3: Remove The Pentalobe Screws
Using a pentalobe screwdriver, remove the two 3.4mm screws that you will find on the bottom of your iPhone 7 on either side of the charging port. This will allow you to remove the iPhone 7 screen.

Step 4: Soften The Adhesive & Remove The Screen
You can soften the waterproof adhesive around the screen using a heat tool (a hairdryer will work) which will allow you to remove the screen. Then, to safely remove the iPhone screen you can attach a suction cup to the lower half of the screen and gently pull it up to create a small gap between the screen and the device.
At this point, insert the flat end of the pry tool into the small gap that you’ve created and begin to pry open the screen along the bottom slightly (being careful not to insert the pry tool too far to avoid any damage). Then slide the pry tool up the left-hand side of the screen to loosen it and you should be able to remove the screen by folding it out and releasing the clips at the top. Just be careful not to damage the ribbon cables securing the front and the back of the iPhone together on the right side of the device.

Step 5: Disconnect The Battery
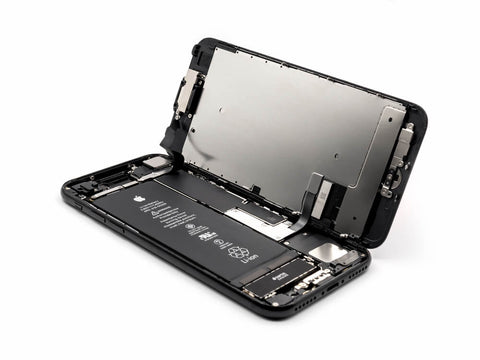
Use a tri-point screwdriver to remove the 4 screws around the battery and digitizer cover plate, remembering to keep track of which screws belong in which place because they aren’t all the same. Then, remove the cover and use your pry tool to unclip the battery and digitizer cable connectors.
Step 6: Remove The Display Assembly/
Next, use a screwdriver to remove the two Phillips screws that secure the cover over the front panel sensor assembly connector. You can then use a pry tool to gently remove the assembly, which you should be able to do without any force - this will separate the front and back of your iPhone into two separate pieces.
Step 7: Remove The Home Button
Remove the four screws securing the bracket over the home/Touch ID sensor, as well as the bracket that secures the home/Touch ID sensor. Using your pry tool, gently get under the left edge of the home button cable connector to disconnect it from its socket - being very careful not to damage any components. To complete this step, remove the home/Touch ID sensor assembly by lifting it through the front side of the display.
Step 8: Remove Earpiece Speaker
Again, keeping track of the screws, remove the three Phillips screws securing the earpiece bracket to the front panel, allowing you to remove the earpiece speaker bracket. Then, lift the front-facing camera away so that you can access the earpiece speaker. At this point, remove the three Phillips screws securing the earpiece speaker to the front panel and remove the earpiece speaker.
Step 9: Remove Front Camera & Sensory Cable
Use a pry tool to gently pry the light sensor out of its place on the front panel. Use a pick tool to slice towards the front-facing camera housing, separating the adhesive holding the cable to the panel (be careful to ensure that you stop just before the screw posts). Then, use the pick to lift the camera cable up off of the plastic posts on the front panel and fully separate it from the adhesive. Now remove the front camera and sensor cable.
Step 10: Remove LCD Shield Plate
Carefully remove the six tri-point screws from either side of the display assembly (three on either side). Use your pick tool to gently remove the adhesive next to the home button that is holding the LCD shield plate to the digital assembly. Then, very gently lift up the LCD shield plate from the assembly, leaving only the LCD and digitizer in place.
Step 11: Device Reassembly
At this point, you can replace the iPhone screen with your new LCD screen and digitizer, completing all of the previous steps in a reverse order to fully reassemble your device for a low-cost iPhone 7 screen replacement.

Leave a comment